Poured for Cars in the 1960s: The Three Things a Garage Slab Decided About the Conversion
Above waist height the conversion was straightforward. Everything difficult about it was settled by a concrete floor poured for vehicles sixty years earlier.
- Written by
- Nadine Buckley
- Published
- Filed under
- Property
- Length
- 1,037 words, about 4 minutes
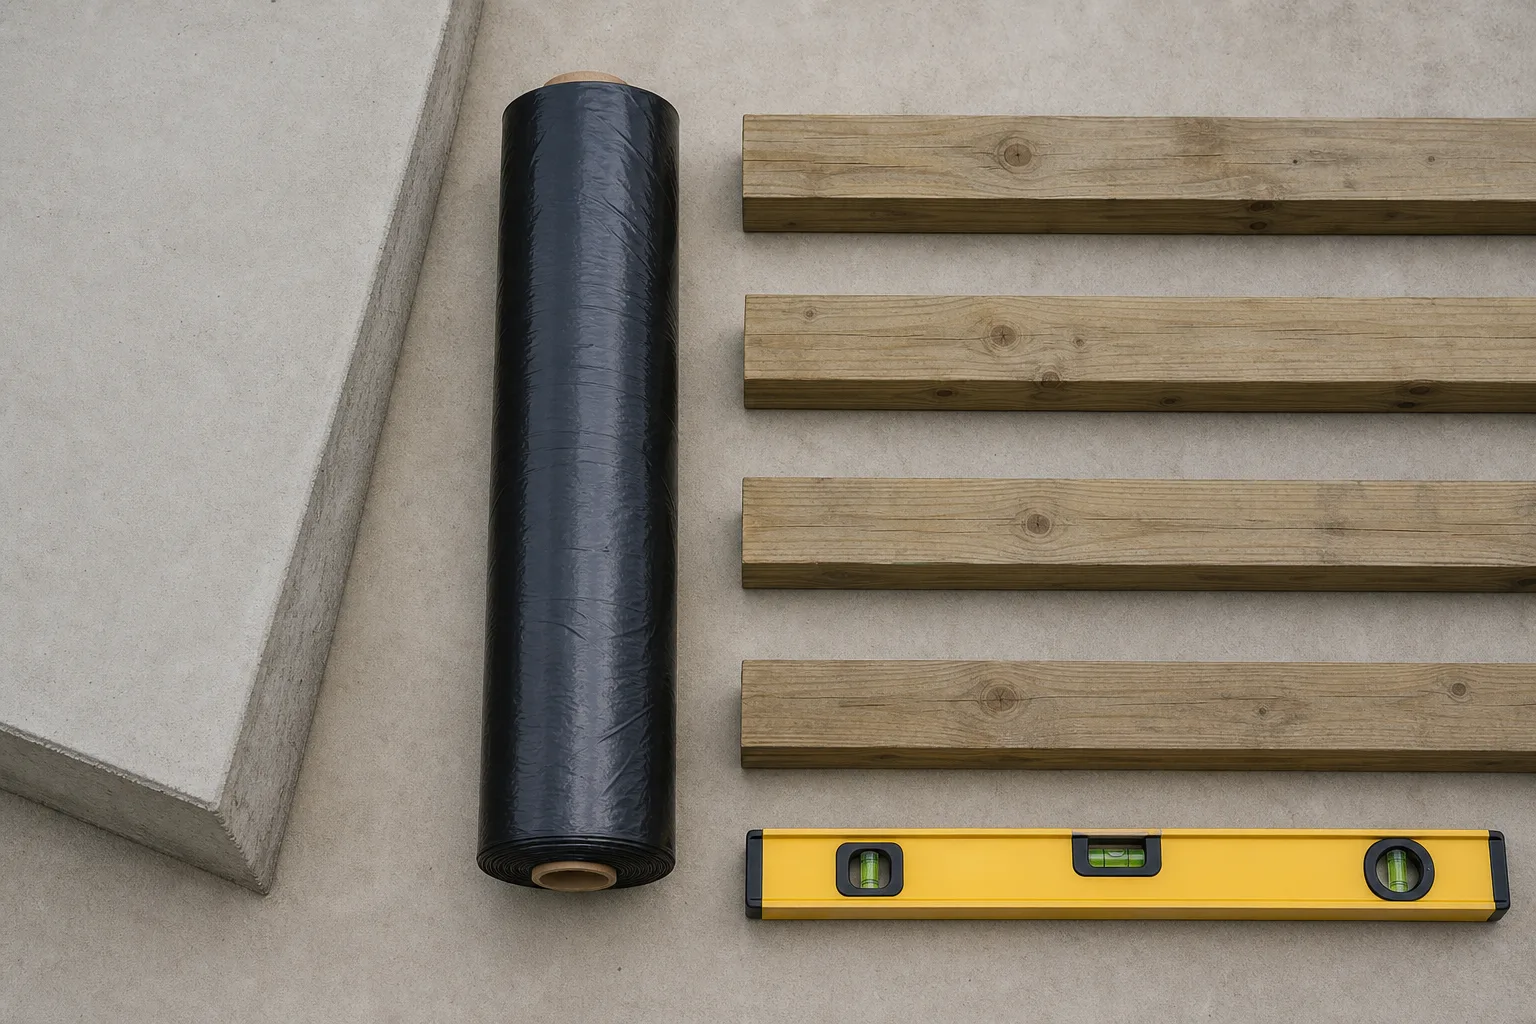
The plan was a home office in an attached two-car garage: walls, insulation, a window, a ceiling and a floor. On paper it was the cheapest square footage anywhere on the property, since the roof and three of the four walls already existed and the utilities ran past the space on their way somewhere else. Then somebody put a level on the floor before anything was ordered, and the project changed shape in the course of an afternoon. Three constraints came out of that slab, each with a mechanism worth understanding, and all three apply to very nearly every garage built in that era.
The Slab Slopes, and It Was Meant To
Garage slabs are poured with a deliberate fall toward the door so that water carried in on a vehicle finds its way back out, and the pitch is slight enough to be invisible standing in the room. Across the depth of a two-car garage it accumulates into a drop of several inches at the door end, which is fine under a car and impossible under furniture or a finished surface. Three resolutions exist and the choice among them drives everything downstream. Self-leveling compound is practical for a small correction and expensive across a full garage depth, since it is priced by the bag and by the depth it has to fill. A level wood floor built over the slab on sleepers, tapered or shimmed to correct the fall with insulation between them and a deck on top, produces the best result and is the common answer. Accepting the slope is the third option and it is not available for a room somebody has to work in.
They built the wood floor, which was the right call and which introduced the second constraint before the first day of framing.
Raising the Floor Eats the Ceiling
Habitable rooms carry a minimum ceiling height in the building code, garages are frequently built with less headroom than the house to begin with, and a raised floor plus a finished ceiling consumes the difference from both directions simultaneously. The arithmetic here ran as follows. The sleeper assembly and the subfloor deck took several inches off the top of the available height. The garage door track and its opener occupied the ceiling across most of the span. Framing and insulating a new ceiling below the existing structure would have taken several inches more, at which point the room would have failed the requirement it was being built to satisfy.
The resolution was to insulate between the existing ceiling joists and finish tight to them rather than dropping a new ceiling, and to remove the door track entirely once the opening had been framed as a wall. That preserved enough height to clear the requirement with margin left over. This is the constraint that quietly stops a great many garage conversions, and the useful thing about it is that it can be checked in ten minutes with a tape measure before a single dollar is committed.
Nothing Was Ever Laid Under the Slab
Slabs poured before under-slab sheeting became standard practice sit directly on soil, and soil moves water vapor upward continuously and indefinitely. In a garage that is completely irrelevant. Under a finished floor carrying insulation and a wood deck it is the mechanism that produces a failure two years after everybody has stopped thinking about the project. Vapor rises through the concrete, meets an assembly that slows or stops it, and accumulates at the interface, where the wood takes up moisture and the insulation holds it. What follows is smell, then movement, then rot, and none of it is visible until somebody opens the floor.
The remedy is a continuous vapor retarder laid over the slab, lapped and sealed at every seam and turned up at the perimeter, installed before anything else goes down. The material itself is inexpensive and achieving genuine continuity is the part demanding care, and it is the single detail with the largest bearing on whether the room is still sound in a decade. They dealt with the outside at the same time, regrading the ground next to the garage to fall away from the wall and extending a downspout that had been discharging directly beside it, on the sound principle that reducing the water reaching a slab costs far less than managing it once it has arrived.
The Two Costs That Had Nothing to Do With the Floor
Both surprise households that budgeted only for what they could see. The first is the door opening, since framing a wall into it means a header sized for the span, insulation, sheathing, an exterior finish that matches the rest of the house, and a window if the room is going to need daylight. That is a wall built from nothing, and it gets priced accordingly. The second is mechanical, because the room needs heat and cooling, and extending the existing system means confirming the equipment can actually carry the additional load rather than assuming it can. In this case it could not, and a separate system serving only the new room turned out to be the cheaper of the two answers by a clear margin.
The Sequence That Came Out of It
Measure the existing height first and confirm the finished assembly will meet the requirement. Check the slab for cracks and moisture and correct the exterior drainage before anything else. Frame the door opening as an insulated wall with a properly sized header. Lay a continuous sealed vapor retarder across the slab. Build the level sleeper floor with insulation between the members, then the deck. Insulate the walls and the ceiling cavity while respecting the fire separation to the house. Then heat, electrical and finishes, in that order.
The finished room cost more per square foot than the owner had first expected and considerably less than an addition would have, which is the usual result and a perfectly good one. What made it work was that all three slab constraints were found with a tape measure and a level before any material was ordered, rather than discovered by a framer standing in the space on a Monday morning with a delivery already sitting on the driveway.